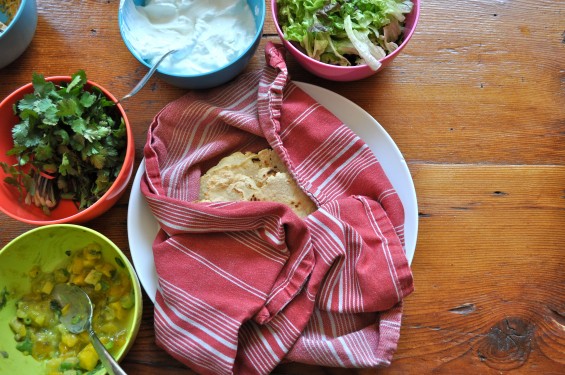

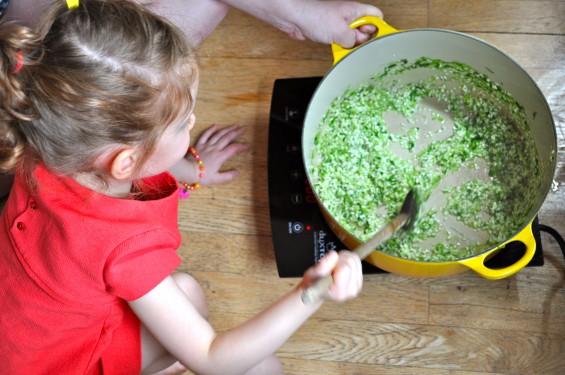
Risotto is a labor of love, a dish where you must commit to standing and stirring from the beginning all the way till the dish is done. I call it Granny food since it brings to mind the iconic Italian granny, Nonna, standing over the hot pot, stirring for the full time it takes to make risotto.
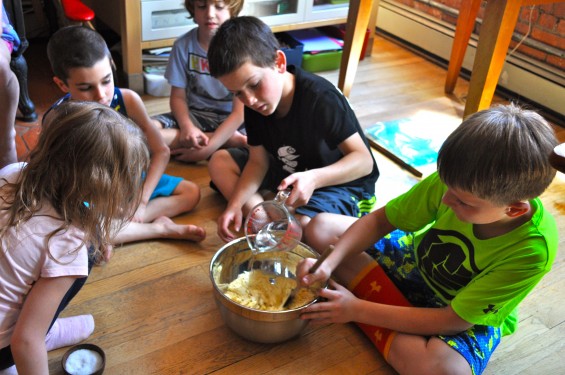
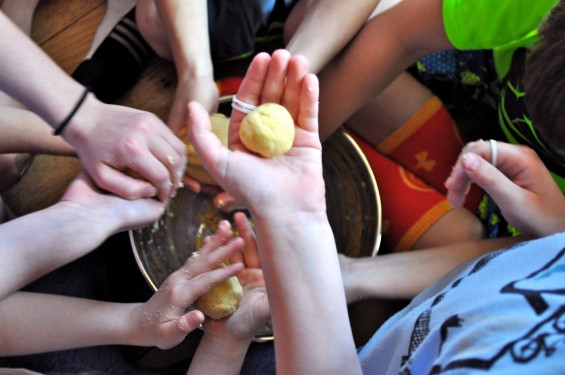
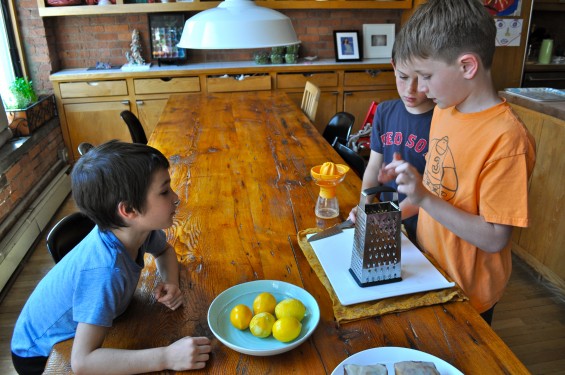
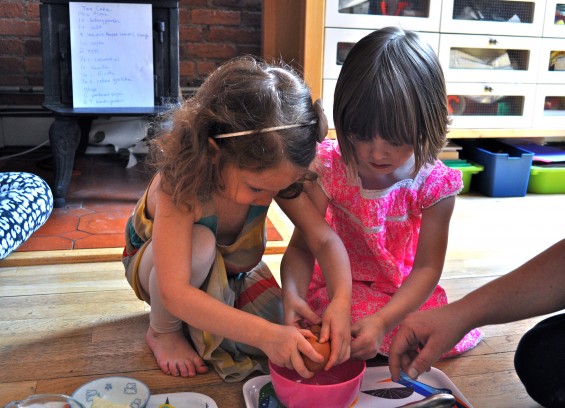
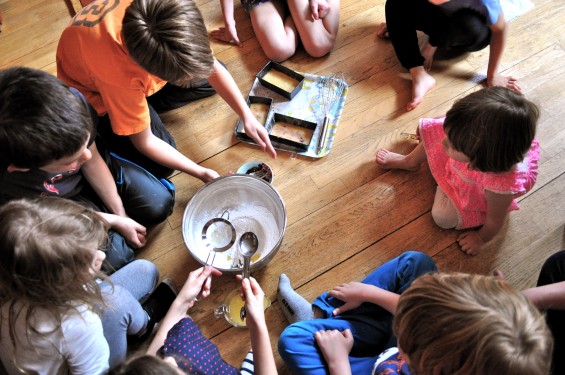
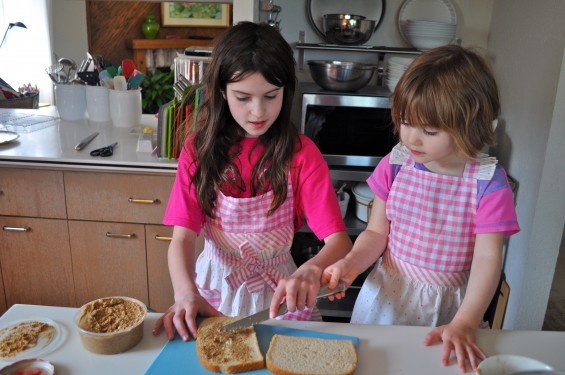
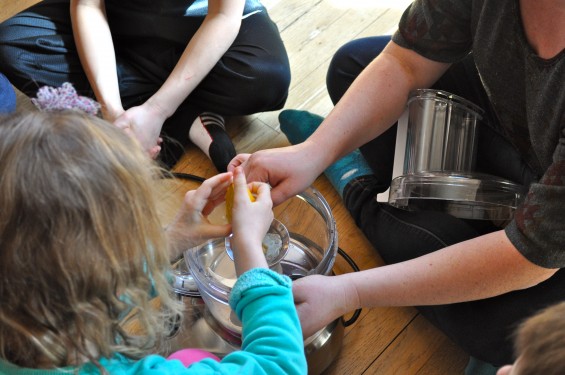
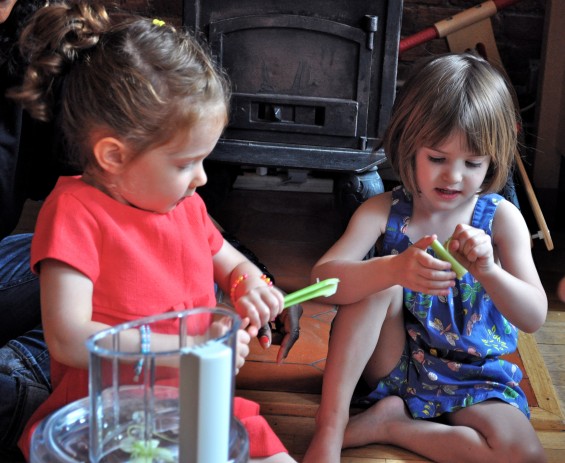
You do not have to have or be an Italian granny to make risotto, especially if you have a bunch of mini-chefs around to take turns with the stirring. It was pretty great to have a whole lineup of chefs, stirring a minute or two a turn, to get this risotto cooked off, and they were definitely into the idea of adding the ramps and checking out how they taste.
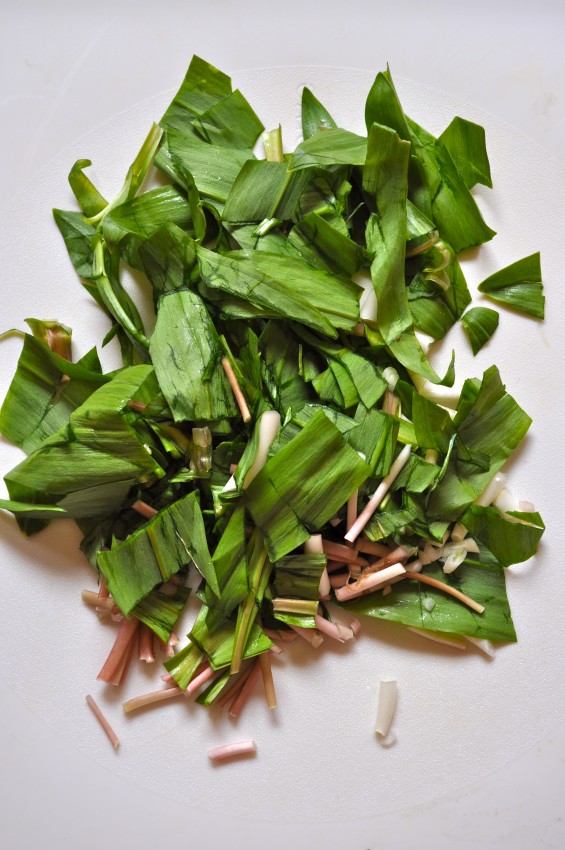
New York is alive with ramp-mania right now. All the weekly restaurant specials are featuring ramps: ramp broth, ramp pesto, ramp quiche, ramp this and lots of ramp that. It is easy to see why chefs try to get in as much ramp time as they possibly can before the short season ends. They really do have a flavor that inspires greatness.
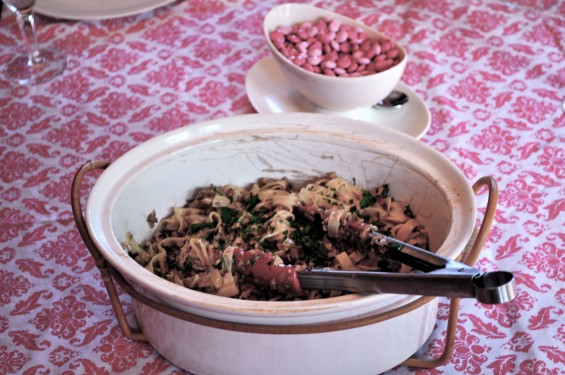
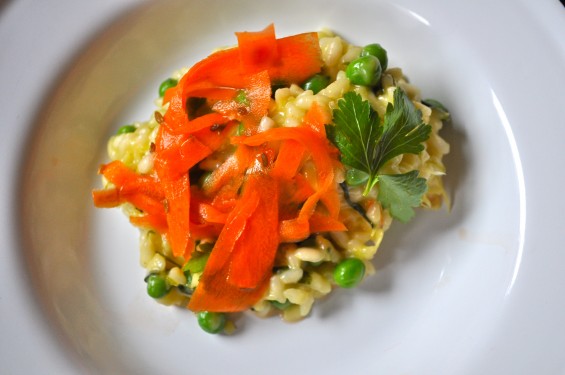
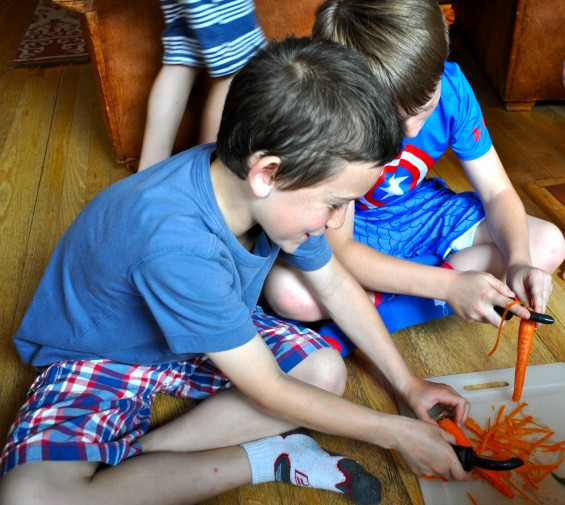
We combined the inspiring ramps with good old peas and carrots for our risotto, but of course we had to add a twist. We did a quick pickle on the carrots. The crisp, acidic flavor of the carrot ribbons help make this a true spring-time dish.
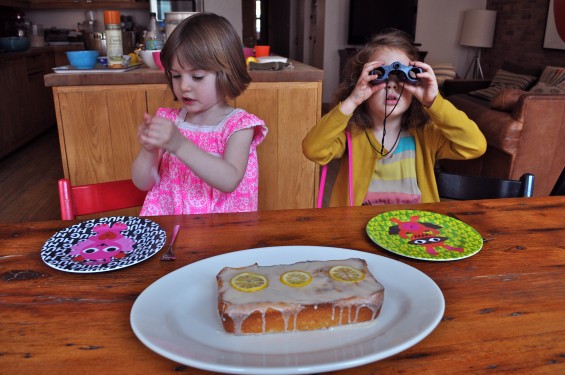
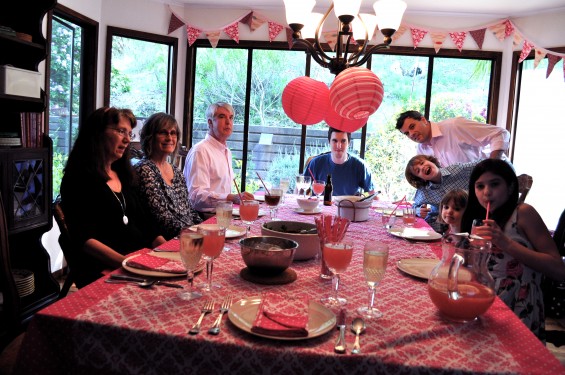
As the bowl of pickled carrots made its rounds on our table at the end of class, there were a few students who took some to top their risotto and then dipped back in for some to put on the side or re-top their risotto after they had eaten the first serving off the top and couldn’t resist a second helping.
Risotto with Ramps, Peas, and Pickled Carrots
For the Pickled Carrots:
-
1/2 pound of carrots, washed and peeled into carrot ribbons
-
1 c. apple cider vinegar
-
6 whole black peppercorns
-
1/2 t. fennel seed
-
1/2 t. anise seed
-
2 T. sugar
-
1 t. salt
-
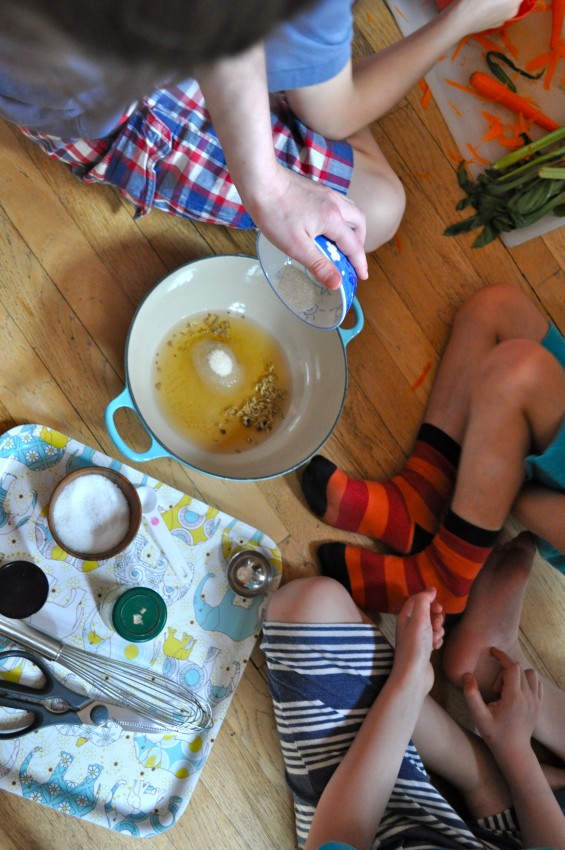
In a small sauce pan, whisk together the vinegar, peppercorns, fennel seed, anise seed, sugar, and salt over high heat till the mixture comes to a boil. Boil for about a minute, whisking the whole time. Remove from the heat and pour over the carrot ribbons in a glass or metal bowl.
-
Stir the carrots gently so that they are completely submerged in the vinegar mixture and let them pickle while the risotto is cooking.
For the Risotto
-
2 T. butter
-
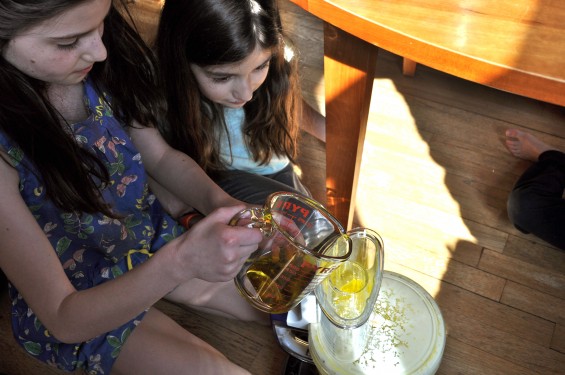
2 T. olive oil
-
1/2 bunch of ramps, root bottoms cut up and the rest roughly chopped
-
1 medium yellow or white onion, peeled, the root end cut off, and the rest roughly chopped
-
2 stalks of celery, roughly chopped
-
2 c. arborio rice
-
2 quarts of vegetable stock
-
1/2 c. Asiago cheese, grated
-
1 1/2 c. peas, shelled or frozen
-
1/4 cup flat leaf parsley, chopped or torn
-
salt and pepper, to taste
-
optional: 1 T. creme fraiche or sour cream
-
Bring the vegetable stock to a simmer in a saucepan.
-
In your food processor fitted with the shredding attachment, shred the ramps, onion, and celery.
-
Heat the butter and olive oil over medium high heat. Add the shredded vegetables, stirring till very soft and cooked through. Add the rice, stirring it for a full minute so that the oil and butter are completely absorbed. Begin adding the hot broth, 1/2 cup at a time. Stir constantly. Have as many helpers as you like take turns, but keep stirring the whole time till all of the stock is absorbed into the rice.
-
Remove the risotto from the heat and stir in the cheese, optional creme fraiche or sour cream, peas, parsley and season with salt and pepper.
-
Plate each serving of risotto and top with the pickled carrots. Enjoy!