Apple Galettes with an Easy Crust

07 March 2011 Filed In: apple, butter, cooking class, Course Type, Desserts, Fall, Ingredient, Seasonal Dishes, Soy-free, Spring, tart, Thanksgiving, Type of Dish, Uncategorized, Vegetarian, Winter

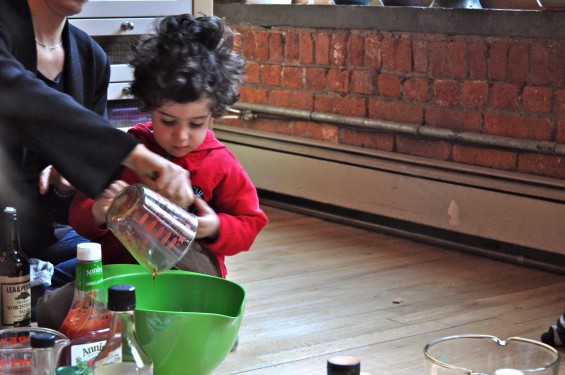
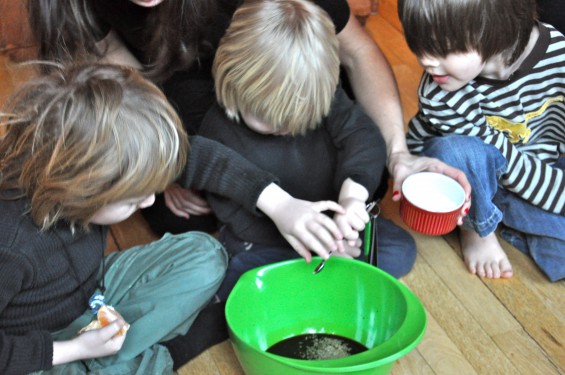
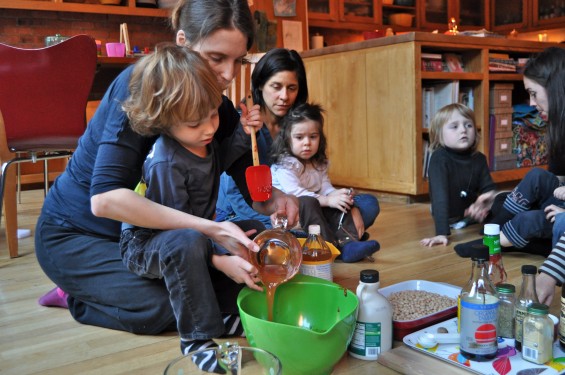
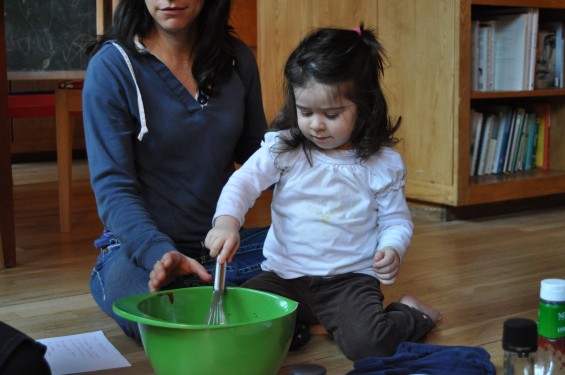
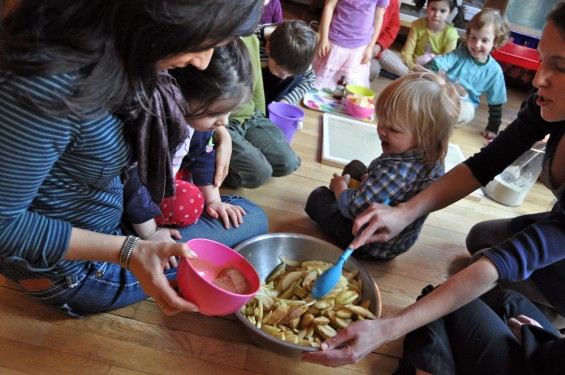
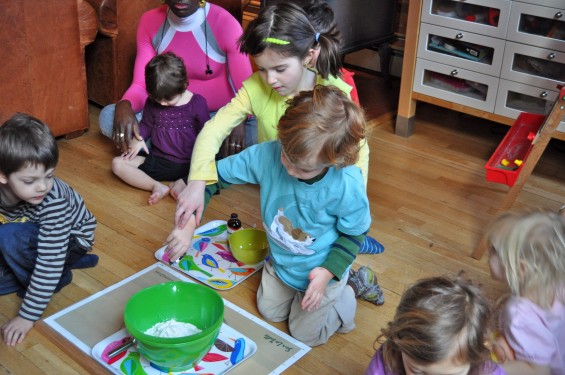
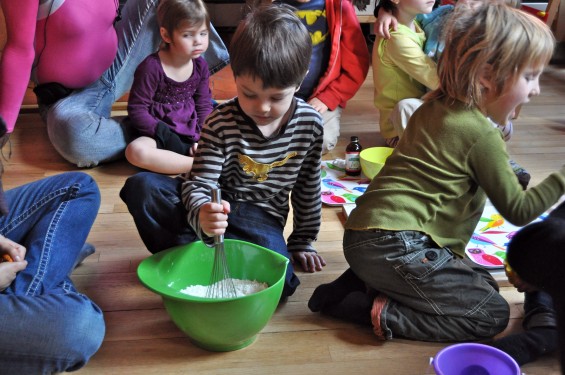
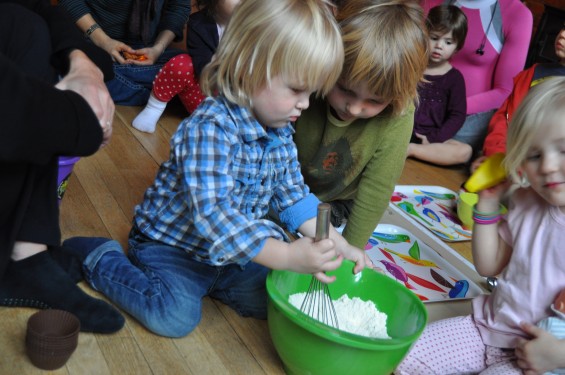
In class this week, something really beautiful was happening.  The big kids were helping and guiding the littler ones.  We have a class full of sibling pairs with the exception of one of our two-year-olds.  That single child seems to get my children, in particular, to help her out when she needs it.  While baking this week, the mini-chefs did tandem whisking and pouring, and you could often hear the older chefs calling out words of direction or encouragement to their younger co-horts.

Then, after the galettes were put together in relative calm and peace and ready for the oven, they all ran off to play together like wild hooligans.  At one point, when we went in to the kids’ room to check on them, they had nearly every toy in the entire room stuffed in a tent.  Then, two of the boys decided that they would take a bath, and we discovered them (on a tip from their older siblings) in the bathroom stripping down and laughing hysterically.

Our class this year is a loud and raucous one.  Most of the older ones have been friends since babyhood, and the younger ones have followed along with their older siblings.  They are comfortable together, like cousins.  It is so very sweet to see these mini-chefs growing up together- even when their moms and I have special moments of horror: 11 children working together can make a huge mess lickety split and then move onto another big mess while we’re all scrambling to clean up the first.

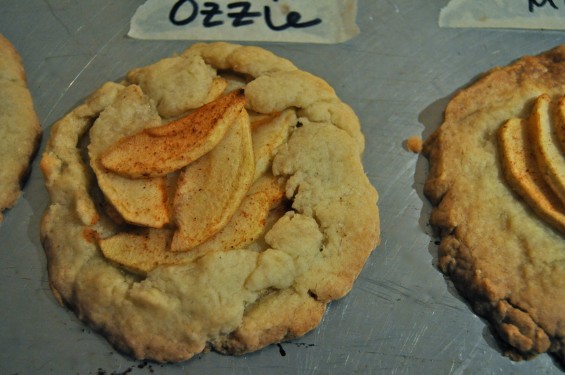
Despite the highs and lows, our galettes turned out so well!  One thing we all loved about this recipe for the apple galettes that we made this week is how fool-proof the dough is.  It’s a sweet dough, taken from the Barefoot Contessa’s recipe for Lemon Curd Tart (my favorite, but I cannot get anyone in my family besides Liev to eat it).  We just changed the flour a little bit and gave the option of adding cheddar cheese.  Because the dough has more sugar than pie crust, the traditional dough with which you would make an apple galette, we put very, very little onto the apples themselves, but spiked their flavor with cinnamon and lemon juice.  I added the cardamom in the recipe below since we love that added spice any time we are working with apples or pears in our kitchen.

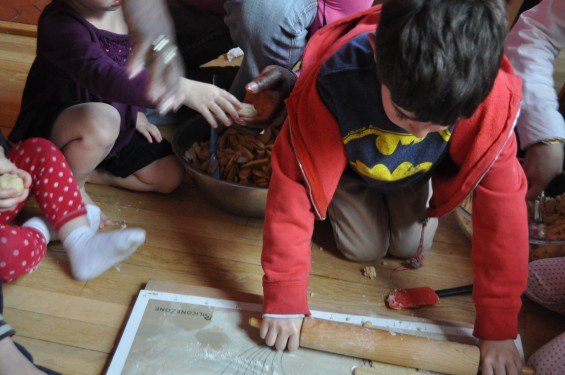
Because the dough is fairly sturdy, even the two year olds can do a lot of helping.  They always like to feel the dough and work it for a long time.  Pie crust should not be handled so much, but a tart dough can take a bit more play time without becoming too dried out, weird, etc.  We thought that variations on these galettes could be made by pre-baking the crusts, spreading them with a little marscapone and sugar mixture after cooling and then topping them with berries, due to hit the greenmarkets in a couple of months.  So, if you’re having your own case of Spring Fever, keep that delicious thought in mind.

Apple Galettes with an Easy Crust

For the Apples:

  • 3 lbs. apples, peeled, cored, and sliced into 1/8-inch wedges
  • juice of one lemon
  • 1/2 c. sugar
  • 1 T. cinnamon
  • 1/2 t. cardamom (optional)

For the Crust:

  • 1 1/2 sticks butter, room temperature
  • 1/2 c. sugar
  • 1 t. vanilla
  • 1 c. all purpose flour
  • 3/4 c. whole wheat pastry flour
  • pinch of salt
  • cold water to make the dough come together
  • 1/4 c. cheddar cheese, grated (optional)
  1. Prepare the apples and toss them with the lemon juice, cinnamon, cardamom and sugar.  Set aside.
  2. Make the dough.  In the bowl of an electric mixer, beat together the butter and sugar at a medium speed till just combined.
  3. Add the vanilla and mix for a couple more seconds.
  4. In a separate bowl, whisk together the flours and the salt.
  5. With the mixer speed set to “low”, add the flour-salt mixture till just combined.
  6. Add the cheddar cheese if you’re using it.
  7. If the dough will not come together and crumbles when you squeeze a bit of it with your hands, add a tablespoon of water, mix it in, and test to see if it comes together now.  Repeat till it does.
  8. Chill the dough for at least 30 minutes.
  9. Preheat your oven to 400 degrees F.
  10. Flour a board or your counter lightly, and hand your mini-chef a mound of dough about as big as a tennis ball.  Have him or her shape it into a ball and then a pancake.  place some apples in the middle, leaving an-inch of dough around the edge.
  11. Fold the dough edge on top of the apples to finish the galette.
  12. Place the galettes on a baking sheet and bake for 25-30 minutes, or till the edges of the crust turn golden brown.
  13. Enjoy!

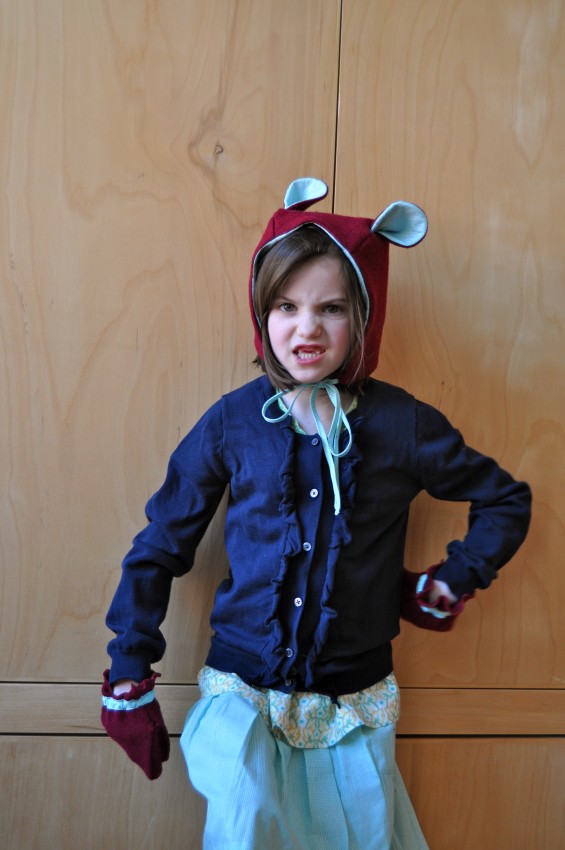
GRRRRR!

05 March 2011 Filed In: all the rest, Crafts, sewing, Uncategorized

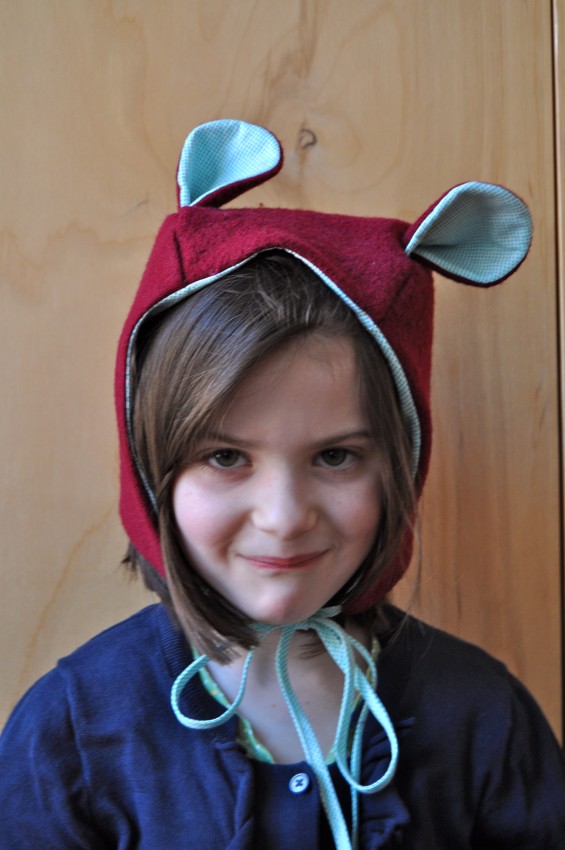
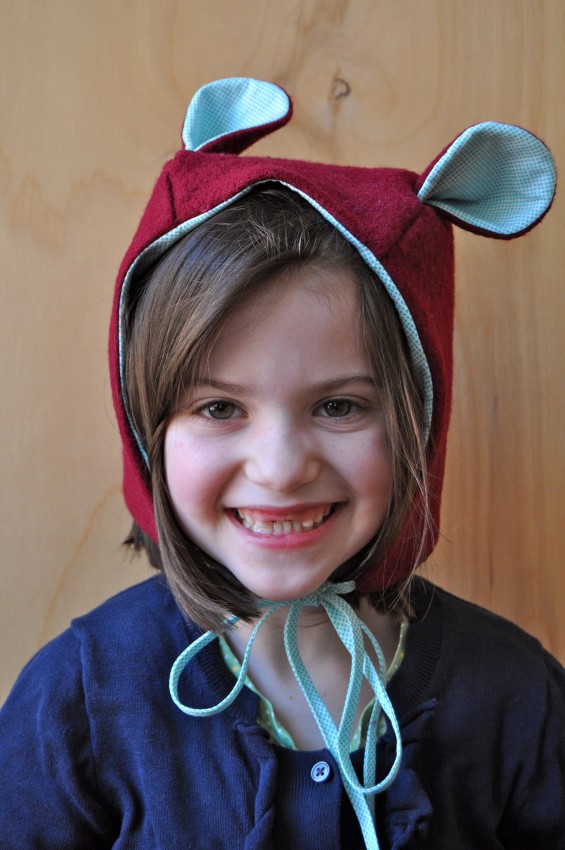
Notice even more changes in this little bear?  Yet another tooth fell out, and she decided that she would like to take a break from brushing out tangles for a while and asked to get her hair bobbed.

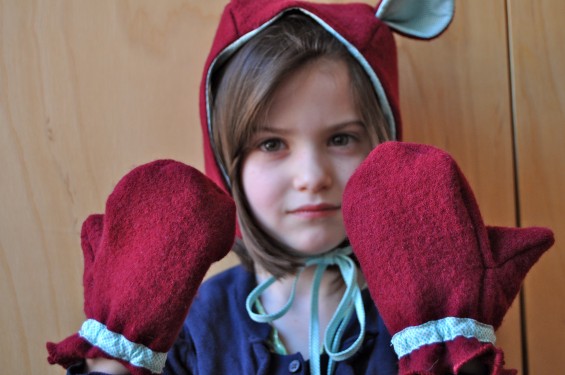
To complement her new look, we put together these cozy winter hood and mittens from Oliver + S‘s new book, Little Things To Sew.  Both the hat and mittens are made from an upcycled, felted cashmere sweater that was donated by Daddy after a moth got into his closet.  I left the ears a little wonky, though the pattern calls for them to be tacked down, because we liked the way it gave the Bear some serious personality.

Currently, Mira is running around the apartment and will take neither hat or mittens off.  She’s growling and skipping and flashing that newly super-fabulous smile.

Snaggle

28 February 2011 Filed In: all the rest, Uncategorized

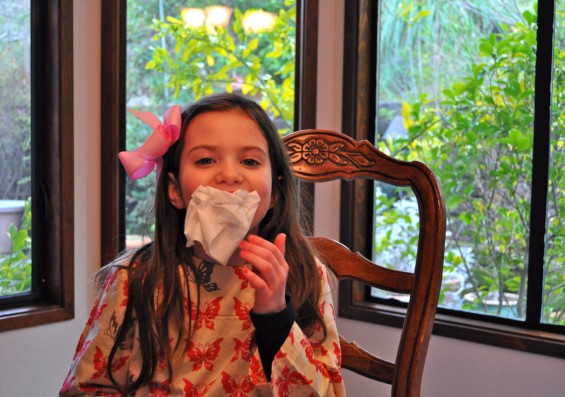
It finally happened!  Our girl has become among the officially snaggle-toothed.

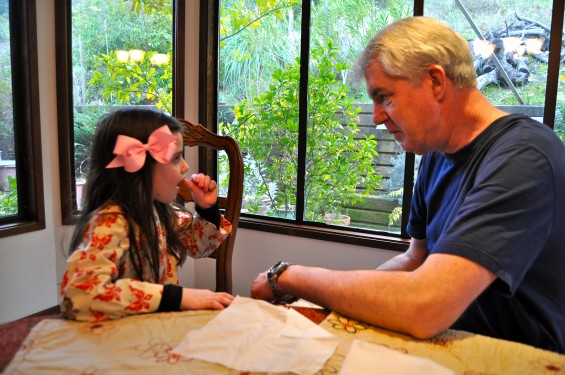
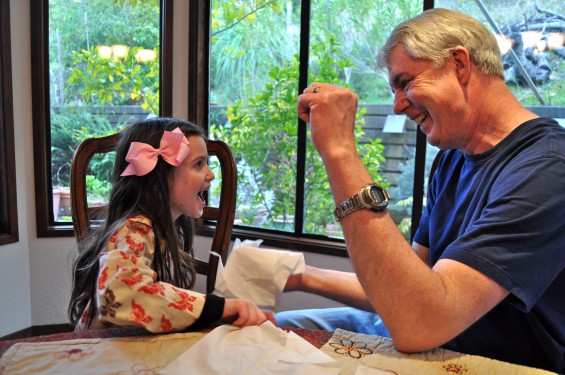
For a week and a half, she ate around her loose tooth so that she could make it to California, where her grandfather could pull her tooth for her.  That baby was hanging on by, well, the skin of its teeth.

One afternoon, it was time to pull.  G-Papp and Mira sat down together, tested out the wiggle-waggle level of the tooth (high), and got down to business.  The tooth popped right out, and there were smiles all around.  Snaggle-toothed smiles from one of us.

Taking her treasure from under Mira’s pillow, The Tooth Fairy, left behind a note congratulating Mira on her bravery and on losing her very first tooth ever.  She also left some money in exchange for the precious tooth.

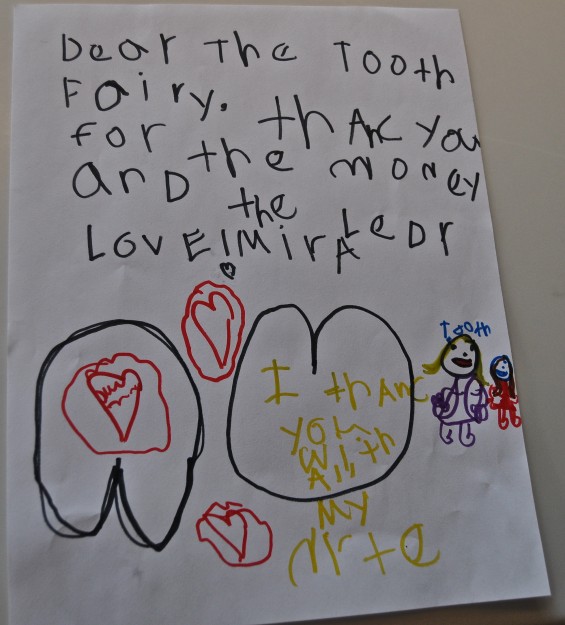
In the morning, Mira came into our room to read us the note from The TF and told us she had a surprise.  She had given half of the money to her brother to put in his piggy bank.  How much prouder could we be of her?  She even wrote The Tooth Fairy a thank you note (see above).  Politeness, generosity, and gratitude seem to be growing in along with the big girl teeth.

Congratulations to our beautiful, big girl!

BLUE

23 February 2011 Filed In: corner view, Crafts, sewing, Uncategorized

Thinking ahead for Spring and when we will have our newborn ruling the roost, I have been making a few things for the children now so that they can wear them later.

Blue, while I know this will not be popular to admit, is one of my least favorite colors.  My Gran, who took care of me when I was a little girl, was chic in a stark sort of way, and her home was decorated in three colors: black, white, and blue.  She had a collection of Willow Wood china, and she counted blue as her most favorite color.

Gran had been a very beautiful young woman with auburn hair and blue-green-gray eyes, and I can just imagine her stepping out in her tailored blue clothing and looking smashing.  She disdained pink (“Redheads should never wear pink,” she told me) until her hair turned white but still stuck to her lifelong color palette of neutrals and blues in what she wore and what she chose.

While I admired her taste level even as a child, there was something too cool about it all for me.  I loved pink then, of course, but it was something else.  People always describe blue as soothing, but it seems to me sort of lifeless and lackluster… well unless you’re talking about royal blue or turquoise.

In my early twenties I had a dream in which I was smashing all of that blue and white Willow Wood china, dashing it to the ground passionately.  In the dream my mother had asked me if I wanted it, and that was my response.  It was the symbol of a sort of WASPy coldness that existed in my maternal line.  Upon waking, I had to laugh to myself.  Um, nope.  I guess I did not want it.

Well, since then, while I do not gravitate toward blue in general, life has made me include it in ways that I did not count on.  My son’s eyes are blue, and he is really the one that has made me begin to love the color in my own way.  After all, it’s hard not to fall in love with the color of your child’s eyes when they are so clear and filled with wonder.

Liev’s favorite color, too, happens to be blue.  Light blue is first favorite and then all of the varying shades falling behind in line before his next favorite color, surprisingly, red.  He asks and begs for blue things, so of course I have had to change my feelings about the color and look at it with fresh, loving eyes.

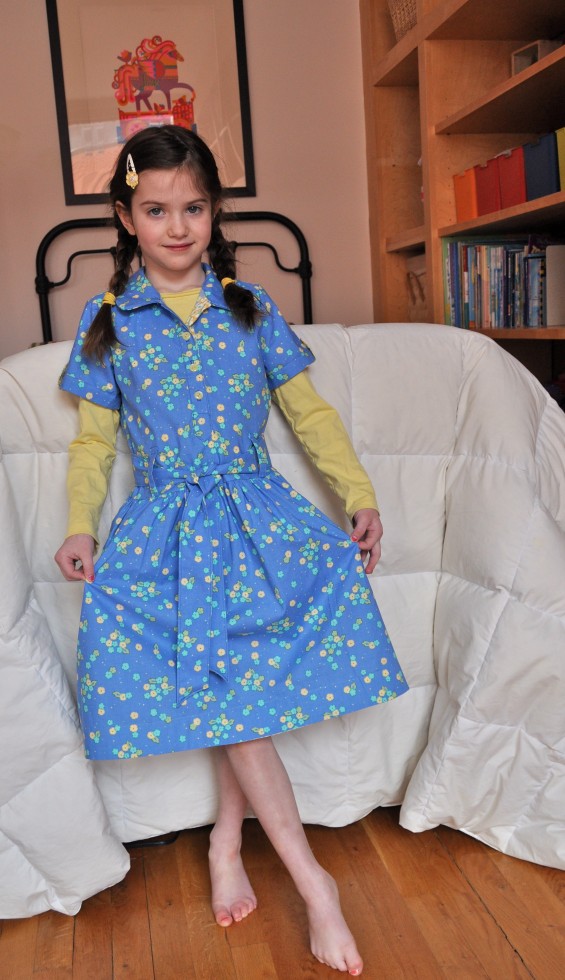
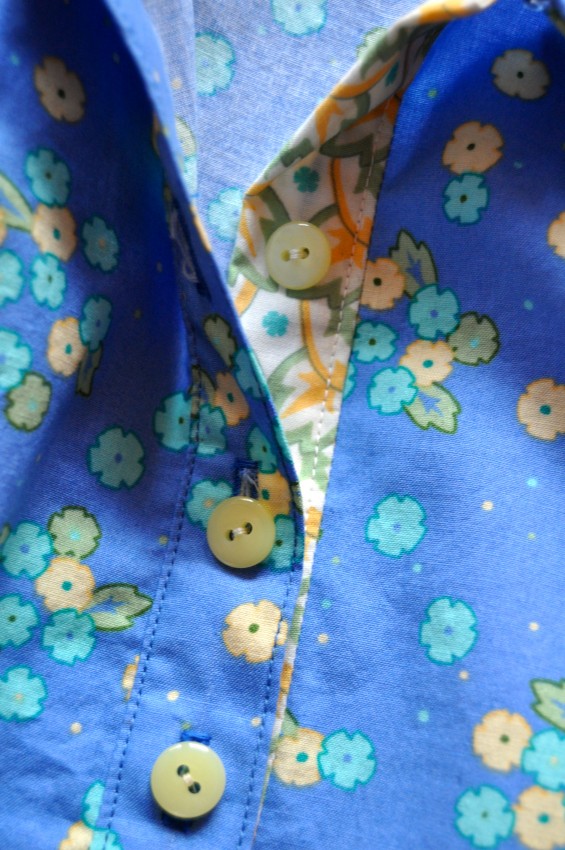
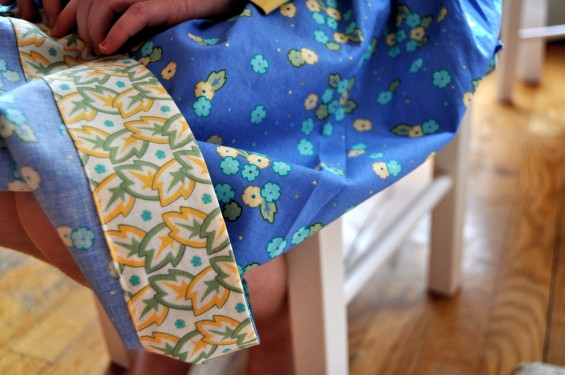
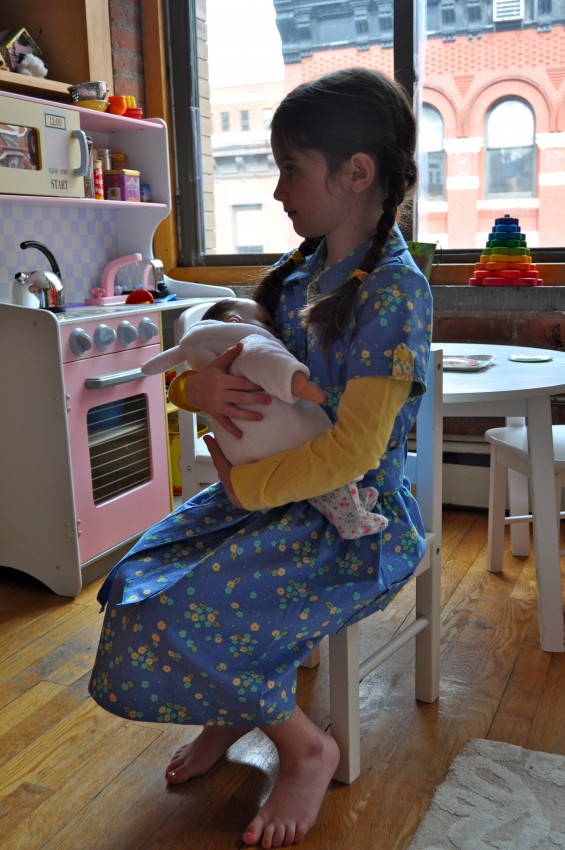
Just recently, I made this cornflower blue dress, Oliver + S’s Jump Rope Dress, for Mira to wear with a long sleeve shirt underneath until the weather turns warm here in New York.  Hopefully it will last our little string bean through the Spring and Summer, till the baby has a few months under his or her belt and there might be a chance to find a moment here and there to sew again.

The whole time this little dress was in the works for Mira, my Gran and her love for all things blue kept popping into my head.  I still do not care to inherit the Willow Wood, but I am finding my way with the blues.

Probably these people don’t share my ambivalent relationship with Blue.  Take a peek at their blue worlds:

jane – ian – bonnie – joyce – kimtrinsch – francesca – state of bliss isabelle – janis – kari – jgy – lise – cateotli – dorte – sophie – mcgillicuttysunnymama – daan – ibb – kelleynninja – sammi – theresa – cherry bcole – lucylaine – lynn – skywritinganna – conny – l´atelier – rosamaríavictoria – yellow door – tikjewitjuniper – annabel – valerie – mlle paradis – wander chow – nadine – don flowtops – susanna – tania – danatzivia – mezza – susan – ocean girlsvea

Barbeque Chicken

21 February 2011 Filed In: Uncategorized

Happy Monday, Yummies!

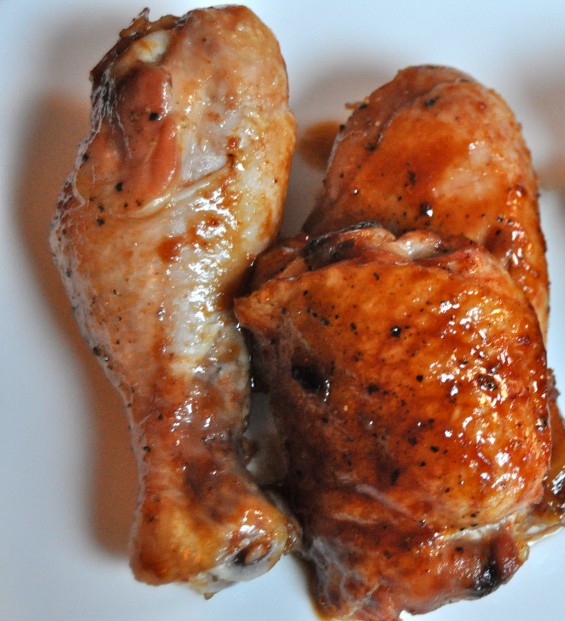
Today, we’d like to share the recipe for barbeque chicken using our special Tribeca Yummy Mummy Barbeque Sauce, that we mixed up in class last week.  It’s an easy dinner to make, especially when served with cornbread and some steamed broccoli or green beans.

The recipe for the sauce will be enough to make both this chicken and some baked beans.  The beans freeze really nicely, so if you’d like, you can make both and put the beans in the freezer for a couple of weeks till you’re ready for some more barbeque.  In our house, they wouldn’t last that long, but in theory, it would work!

Barbeque Chicken

  • 1/2 recipe of TYM BBQ sauce (plus more serving)
  • 12 organic chicken drumsticks
  • 8-10 organic chicken thighs
  1. Preheat your oven to 450 degrees F.
  2. Set aside a cup of the sauce to be used for serving after the chicken has been baked.
  3. Using two baking dishes, place the chicken pieces into the dishes in a single layer.
  4. Bake in the oven 25-30 minutes, until they begin to brown.
  5. Using a pastry or basting brush, paint the sauce onto each piece of chicken.
  6. Bake another 8-10 minutes, till glossy.
  7. Cool for a couple of minutes.  Then, using tongs, swirl each chicken piece in the sauce and juices that have accumulated in the bottom of the baking pan(s) before serving.
  8. Serve with the reserved sauce as an optional topping.