Famous Ricotta Part 2: Savory and Sweet Ricotta Bruschette

04 November 2010 Filed In: appetizer, Appetizers, Christmas, cooking class, Course Type, Fall, herbs, Ingredient, pomegranate, Seasonal Dishes, Snacks, Spring, Summer, Thanksgiving, Uncategorized, Winter

Now that you have whipped up a couple of batches of homemade ricotta, let’s get to work making some bruschette with it.

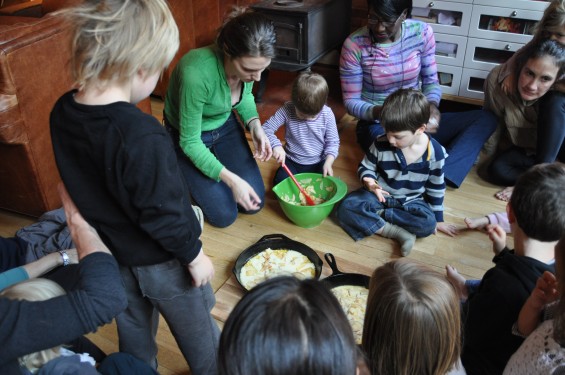
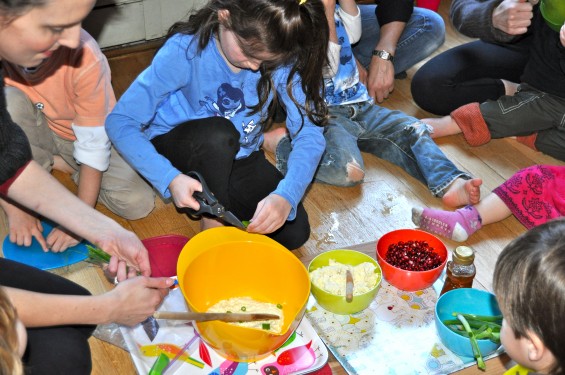
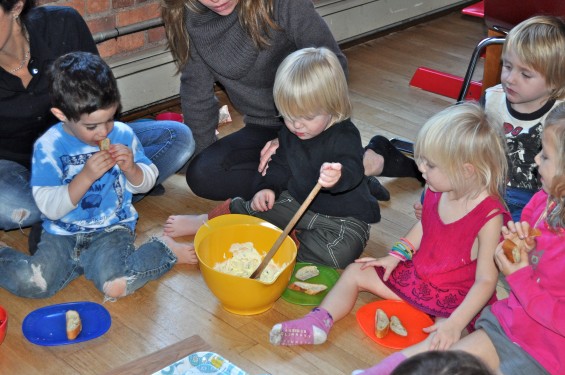
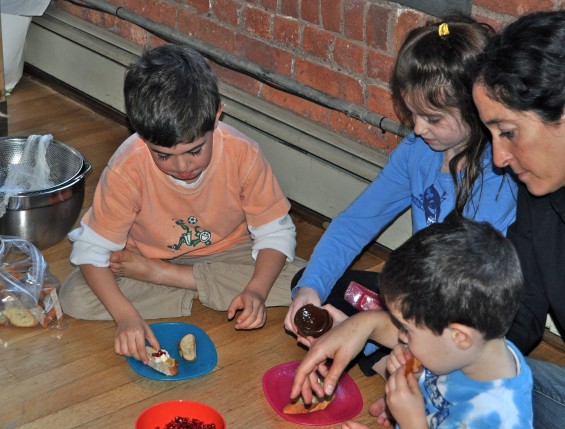
In cooking class as we were assembling the Scallion and Chive Bruschetta, we talked about what the words savory and sweet mean.  Do you know how to describe savory?  It’s not always salty, but it’s never sweet.  It often has an herb or special seasoning in it.

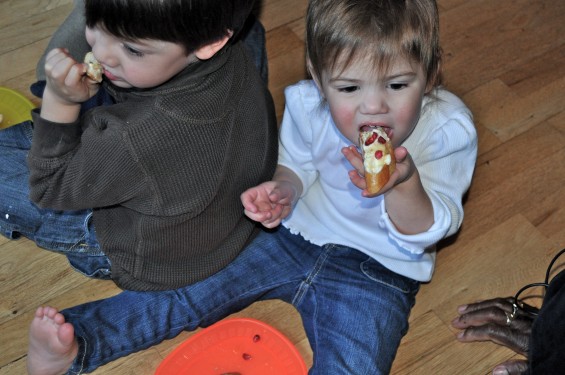
The mini-chefs, when asked, had absolutely no trouble recognizing the qualities of sweet.

While making these bruschette, we also thought about all the other things that would taste amazing in the cheese.  I had been day dreaming of fresh persimmons, but since we do not really grow them here in the Northeast, maybe some dried persimmons, soaked in warm water for a few minutes and plumped up, a bit of cilantro and a little drizzle of honey.  Another mama suggested sundried tomatoes, another jalapenos, and another olives.   And, one simply added some of the pomegranate seeds from our sweet version to the savory scallion mixture right there on top of her toast with a drip of honey and said it tasted amazing.

So, there you go.  Off to dream up ricotta concoctions of your own.  The possibilities are really endless with this mild, creamy cheese.  In the meanwhile here are two versions that we tried, ate, and loved very much.

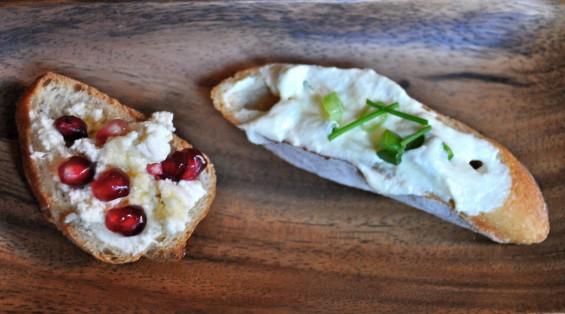
The first is a take on Ina Garten’s recipe from her new book, How Easy is That?: Fabulous Recipes and Easy Tips.  Please see the original recipe here, especially if you are a dill-lover.  We left out the dill from the Contessa’s original recipe and added just a pinch or two more salt to the ricotta.  None of us in class is particularly fond of dill even though we are very fond of the Barefoot Contessa and her recipes in general.

The second is a celebration of the beautiful pomegranate being in season and wonderful local honey.  If you do not have access to pomegranates or find them too expensive, you may substitute tart apples, figs, Asian pears, regular pears, dates, or really any other seasonal fruit that you love.

This pair of toasts would make a super easy appetizer for your Thanksgiving or holiday dinner this year… and just think, you can include your mini-chef in almost every aspect.  Enjoy!

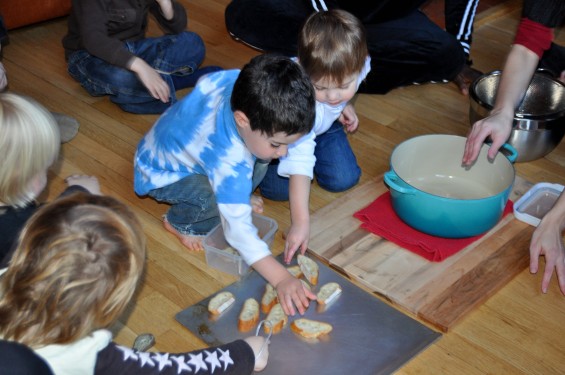
Note: to make Bruschette, or “toasts”, cut two baguettes into 1/4-inch slices.  Preheat your oven to 400 degrees F, and toast the bread, turning it over halfway through cooking, for about 7-10 minutes.  It should be very crunchy and toasty when it is ready.

Scallion and Chive Bruschetta

  • 3 scallions, light and dark green parts only
  • 3 T. chives
  • 1 t. salt
  • 2 c. fresh ricotta cheese, drained for 25 minutes (still very soft and gooey)
  • 2 thin baguettes-worth of toasts (see note)
  1. Help your mini-chef give the scallions and the chives a “haircut” into a medium sized bowl.  While it is very beautiful to have everything finely chopped, just do the best that you can.
  2. Add the ricotta and the salt, and stir everything till completely incorporated.
  3. Top a bruschetta with a scant tablespoon of the ricotta mixture.
  4. Enjoy!

Ricotta Bruschetta with Pomegranate Seeds and Honey

  • 1 c. pomegranate seeds
  • 1/2 c. local honey
  • 2 c. fresh ricotta cheese, drained for 40-45 minutes (on the firmer side)
  • 2 thin baguettes-worth of toasts
  1. Spread a teaspoon or so of the ricotta on each little toast.
  2. Sprinkle or press the pomegranate seeds into the ricotta
  3. Drizzle with the honey.
  4. Eat!

Famous Ricotta ( a la GOOP a la the Barefoot Contessa) Part 1: Cheese Making in Tribeca

03 November 2010 Filed In: appetizer, Appetizers, cheese, cooking class, corner view, Course Type, Fall, Gluten-free, Ingredient, Seasonal Dishes, Snacks, Soy-free, Spring, Summer, Thanksgiving, Uncategorized, Vegetarian, Winter

Over the weekend, two of the mamas of mini-chefs in my class sent me an email about ricotta, their love for it, and a recipe they had seen on Gwenyth Paltrow’s blog, GOOP.  Gwenyth had been a guest at Ina Garten’s, a.k.a. the Barefoot Contessa, home to sample a couple of the recipes from the BC’s new book, How Easy Is That?: Fabulous Recipes & Easy Tips.  Gwenyth shared the recipe for the Contessa’s homemade ricotta that she got to help make and brunch on (lucky girl!).

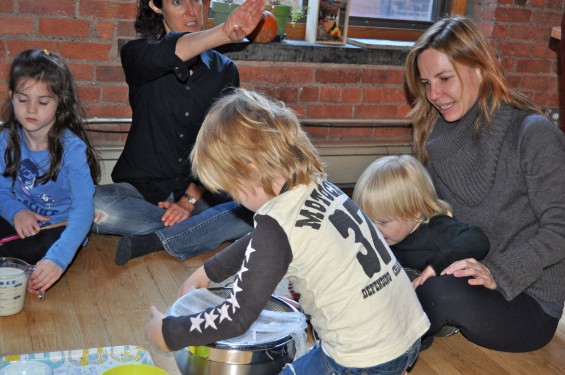
Gwenyth and Ina totally got my friends’ attention with this one!  These two drooling mamas requested that we make both the ricotta and the savory ricotta bruschetta recipe, also provided by Ina Garten, in class this week.  While we do not usually bring in celeb chef recipes to class, we had to make an exception for this one.  We have been making cheese and yogurt together in our home for a couple of years now, and it seemed time to introduce it to the class.

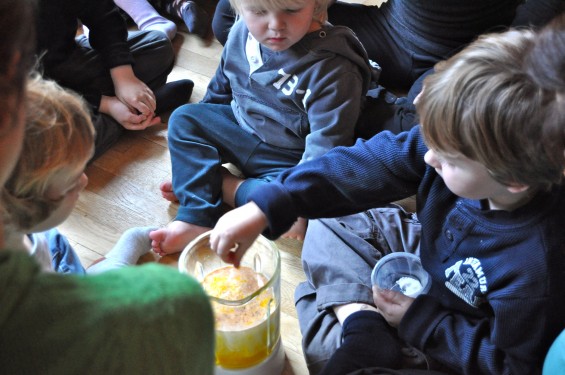
Ricotta is a wonderful cheese to start with if you are interested in cheese making.  There are simple ingredients, minor technique, and big results.  I have translated Ina Garten’s recipe, with the exact proportions as the original recipe found here, below so that you can make it easily with your mini-chef.  An older child can be at the stove top with you if you are absolutely positive that she/he will be safe.  Besides, there is plenty to do apart from your time at the stove and lots to observe and to talk about as the cheese shapes up.

One tip is to use the freshest milk that you can find.  We used Ronnybrook milk, which comes from Upstate New York from an organic farm that only minimally processes their milk.

Tomorrow, we will share the recipes for the savory bruschetta as we revised it just a little to suit our tastes and an original recipe for a sweet bruschetta that had the mini-chefs coming back for seconds and thirds.

Ricotta Cheese: Adapted from Ina Garten’s How Easy Is That: Fabulous Recipes and Tips

Yields about 2 c. ricotta

  • 4 c. milk, organic and as fresh as possible
  • 2 c. heavy cream
  • 2 t. salt
  • 3 T. good quality white wine vinegar
  • a large piece of cheese cloth
  1. Set a large sieve over a large bowl.
  2. Into a large, heavy bottomed pot, measure the milk, the cream and the salt and give the mixture a good whisk.  As they are whisking, you can discuss how liquidy the mixture is and what that means.  (I recommend not measuring out the vinegar yet since it would be very tempting to dump that into the pot, too.)
  3. Big Person: Place the pot on the stove, uncovered, and bring to a rolling boil over medium heat.  Stir it 3-4 times as it heats up.
  4. Have your mini-chef dip the cheese cloth into a small bowl of water and get the cloth completely wet.  Squeeze out most of the water, spread out the cloth, and, folding it in half, place it in the base of the sieve so it covers the entire surface.  Set aside.
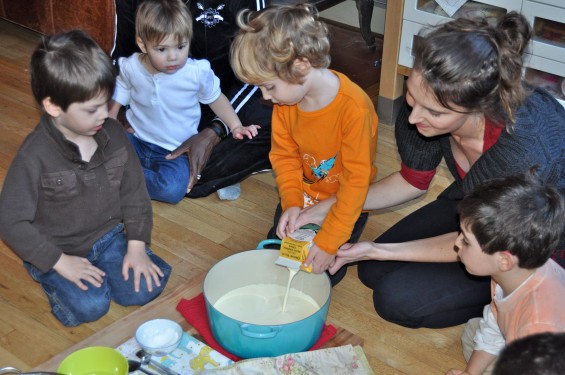
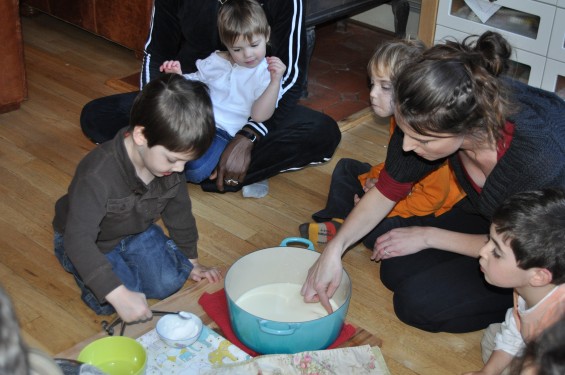
  5. Once the milk mixture has come to a rolling boil, turn off the heat, remove it from the stovetop and place it on the floor on top of a cloth or a trivet so that your mini-chef can see what is happening.
  6. Help your mini-chef measure the vinegar into a small bowl.
  7. Pour the vinegar into the milk mixture and watch as it begins to separate and turn to cheese before your very eyes.  Explain how the milk and cream mixture is curdling and how the liquidy stuff is now moving away from the solid stuff.
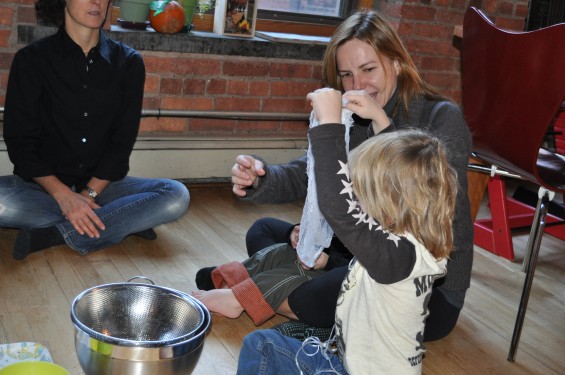
  8. After about a minute of observing and discussing, Big Person will carefully pour the mixture into the cheese cloth-lined sieve.
  9. Listen.  Can you hear all the liquid draining into the bowl beneath, away from the solid parts that will become the cheese?
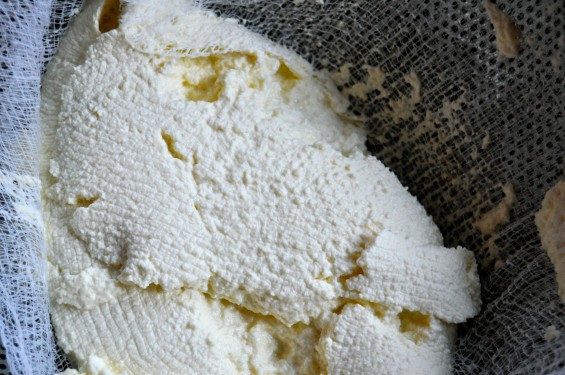
  10. Let drain for 35 minutes for soft ricotta or 45 minutes for firmer ricotta (good for stuffing manicotti, ravioli, or using in lasagna), and remove to a bowl.
  11. Your ricotta can be stored for up to 5 days in a tightly sealed container in the refrigerator.

Happy Halloween, Yummies!

31 October 2010 Filed In: pumpkin, Uncategorized

Spooky Yummies, have a wonderful night tonight, trick-or-treating around your neighborhood!

And please don’t throw that Jack-o-lantern away tomorrow… roast that bad boy at 400 F in an oven till the flesh is soft.  Scoop the flesh away from the skin, and puree it till smooth.  So that your pumpkin may have a life and an afterlife, here is a list of TYM pumpkin dishes and dishes in which you can easily substitute pumpkin puree for sweet potato or squash:

At the top of our list to make this week is the Fall Lasagna, since we will be making some fresh ricotta in cooking class this week and will have extra to add to this dish, and the Pumpkin Pancakes, a perennial favorite around our home.  My daughter’s school had a bake sale on Friday, and we baked the pumpkin chocolate chip cookies from Anne and Mira’s Pumpkin-Chocolate Chip Ice Cream Sandwiches for the sale.  Let’s just say that not every cookie made it to school.

Happy Halloween!

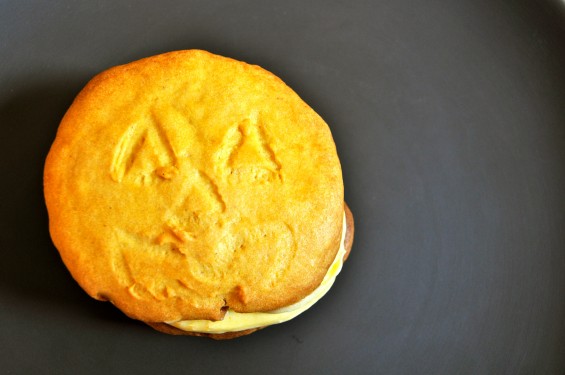
Pumpkin Sandwich Cookies with Cream Cheese Filling

28 October 2010 Filed In: cooking class, Course Type, Desserts, Fall, Halloween, pumpkin, Soy-free, Thanksgiving, Uncategorized, Vegetarian, Winter

Every year when the pumpkins are lined up at the greenmarket, ready to take home and carve or roast, we get excited by all the recipe possibilities.  Pumpkin, for all its popularity on Halloween and  in Thanksgiving pies, has a season that extends well beyond November.

For these sandwich cookies, we wanted to have simple flavors that would definitely celebrate the SPOOKY Season but also be a treat that you might find yourself enjoying in the middle of January when you were craving something sweet and filled with a few warming spices.  The cookies, by the way, are very good on their own, especially if undercooked slightly so that they are very soft, but they really come to life when you add that delicious ooze of pumpkin cream cheese sandwiched in between two of the cookies.

Pumpkin Sandwich Cookies with Cream Cheese Filling

For the Cookies:

  • 1 1/2 c. butter (3 sticks), room temperature
  • 1 3/4 c. sugar
  • 1 egg, room temperature
  • 1 t. salt
  • 1 1/4 c. pumpkin puree
  • 2 t. vanilla
  • 5 c. all purpose flour
  • 1 1/2 t. cinnamon
  • 1/2 t. nutmeg
  1. Line two baking sheets with parchment.
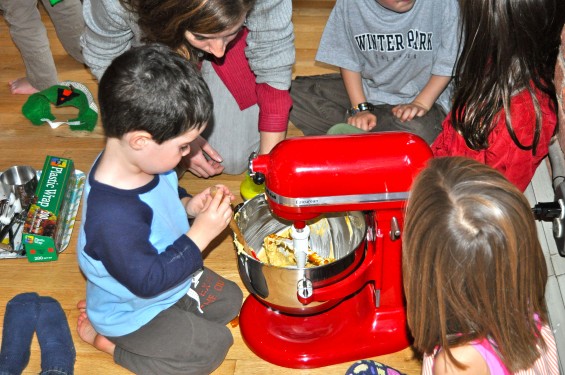
  2. In the bowl of an electric mixer set on medium speed, cream the butter and the sugar together till light and fluffy, 3-5 minutes.
  3. Add in the egg.
  4. Stop the mixer and scrape down the sides.
  5. Add the salt, the pumpkin puree and the vanilla and mix on medium.  Stop the mixer and scrape down the sides again.
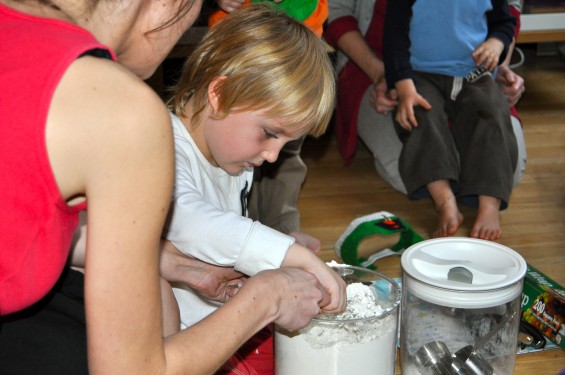
  6. Turn the mixer down to its lowest setting and add the flour, the cinnamon and the nutmeg, and mix until just combined.
  7. Divide the batter into 3 parts and place in three bowl.  Cover them with plastic wrap and put them in the fridge for at least an hour or overnight.
  8. When ready to bake, preheat your oven to 350 degrees F
  9. Using a mini ice cream scoop or a tablespoon, measure out a ball of dough.
  10. Roll it between your hands to form a smooth ball.  Then smash it flat with the palms of your hands to make a pancake shape.
  11. Place 12 of these pancakes, an inch or so apart on your baking sheet.
  12. Bake the cookies for 8-12 minutes or until the sides begin to turn golden brown.
  13. Cool on a rack for at least 15 minutes.

For the Cream Cheese Filling:

  • 16 oz. cream cheese, room temperature
  • 1/2 c. pumpkin puree
  • 4 c. confectioner’s sugar
  1. With an electric mixer or a whisk, beat together the cream cheese and the pumpkin puree till completely combined.
  2. Add the confectioner’s sugar a cup at a time, beating well after each addition.
  3. If the frosting is too wet, add a bit more sugar.  If it’s too dry, add a bit more pumpkin puree.

To assemble Sandwich Cookies:

  1. Find two cookies of similar shape and frost the smooth side of one cookie with a heaping teaspoon of the cream cheese frosting.
  2. Stick its little friend cookie on top.  Eat!

Big Apple Pancake

26 October 2010 Filed In: apple, Christmas, cooking class, Course Type, Desserts, Fall, Main Dish, Recipes, Soy-free, Type of Dish, Uncategorized, Vegetarian, Winter

While we are finishing up our Halloween preparations, we need a little fortifying food to eat.  Something substantial and seasonal but snacky, too.

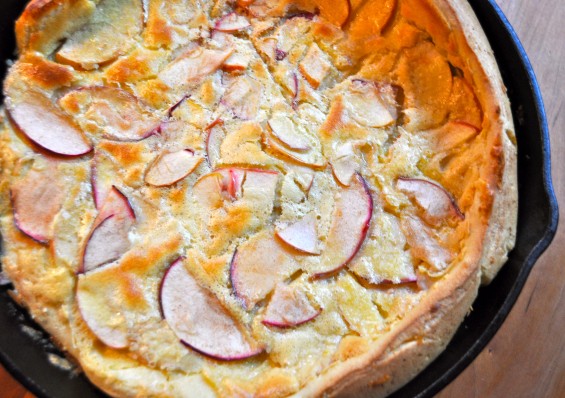
This apple pancake, assembled quickly and into the oven lickety split fits the bill.  For cooking class, we used local Gala and Roma apples, not to sweet and not too tart, and the simplest ingredient list we could manage while still making our pancake extra tasty.  Most of the mini-chefs ate it with no other adornments; some needed just a touch of maple syrup. Personally, I could envision a dollop of local creme fraiche if you’re a little devil this year or, if you are a little angel, perhaps a similar dollop of greek yogurt.  For more protein, add 1/2 c. grated cheddar cheese or gruyere.  Still, there is something to be said about this pancake in its simplicity.

It’s a knockout brunch dish by the way.  And ghosts love it, too.

Big Apple Pancake

  • 4 eggs, room temperature
  • 1 c. milk, room temperature
  • 2 t. vanilla
  • 1 t. fresh ginger, minced
  • 1 c. flour
  • 1/2 t. nutmeg
  • 2-3 apples, washed well, cored, and very thinly sliced
  • zest from 1/2 small lemon (use organic)
  • juice from half a small lemon
  • 2 T. sugar
  • 1 t. ground cinnamon
  • 3 T. butter, room temperature
  1. Preheat your oven to 425 degrees F.
  2. Place a 9 or 10-inch cast-iron skillet into the oven to heat up while you prepare the batter.
  3. Into an UNPLUGGED blender have your mini-chef pour the eggs, milk, vanilla, ginger, flour, and nutmeg.
  4. Place the top on the blender, plug the blender in, and whir the ingredients till completely smooth, about a minute or two.
  5. In a medium bowl, combine the apples, sugar, cinnamon, lemon zest, and lemon juice.  Toss with your hands or, gently, with a wooden spoon.
  6. Big Person: Keeping the mini-chefs well away from the hot skillet, pull it out of the oven, and place the butter inside to melt, using a rubber spatula to coat the bottom and sides.
  7. Add 1/2 the apple slices to the pan, pour the batter on top, and then add the rest of the apple slices on top.
  8. Place the pan in the oven and bake for 30-35 minutes, or until the cooked through.
  9. Turn on the broiler for just a minute to brown the top of the pancake.
  10. Let the pancake cool a bit and serve topped with maple syrup or a sprinkling of confectioner’s sugar and/or serve alongside creme fraiche, greek yogurt, or a hunk of cheddar cheese.  Enjoy!